Easy Ways to Make Stencils for Pumpkin Painting
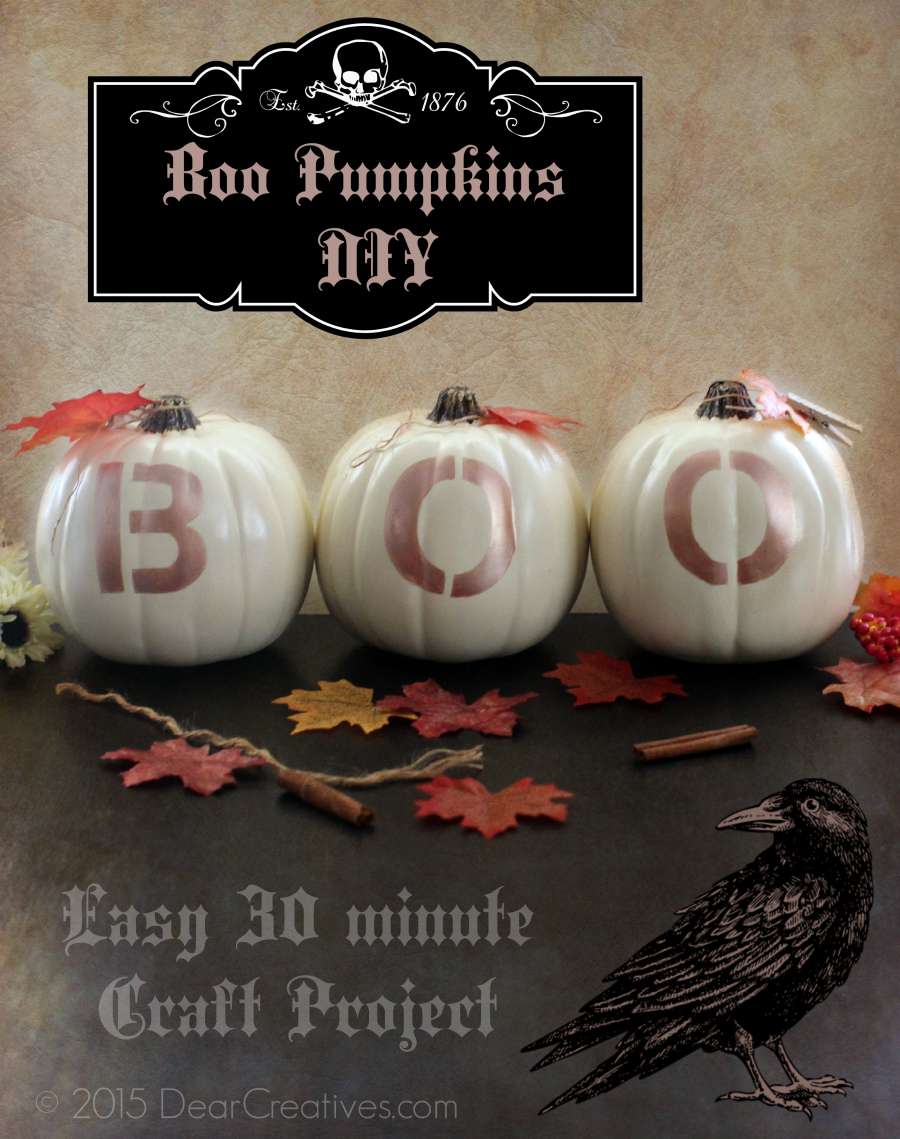
Are you ready to try a craft project? This tutorial is for how to stencil pumpkins . Perfect for decorating fake or real pumpkins ! We wrote BOO on ours but, you can write or decorate them any way you like using our tutorial.
Looking for more ideas to try? See all our Halloween Ideas
How to decorate pumpkins for Halloween
What's great about this easy DIY project is that you will be able to use these decorated pumpkins for your fall home decor too, just by flipping the pumpkins around to the backside. Just set them on the porch, mantel or bookcase to display after you have decorated your pumpkins.
- This craft project takes 30 minutes to an hour depending on your skill level and the dry times for layers of paint.
Everyone is going crazy doing the most fun projects right now for Halloween. But, in my house, I like to keep it simple. Gone are the days when I had the full house of kids. Although it is one of several favorite holidays we love I've paired down my home décor for Halloween.
I still love decorating my porch and front window for Halloween. Knowing all the kids and families dropping can enjoy the Halloween decorations we make and display. I think today's craft project is easy to add to any themed Halloween décor. Hope you enjoy it!
DIY Stenciled Pumpkins
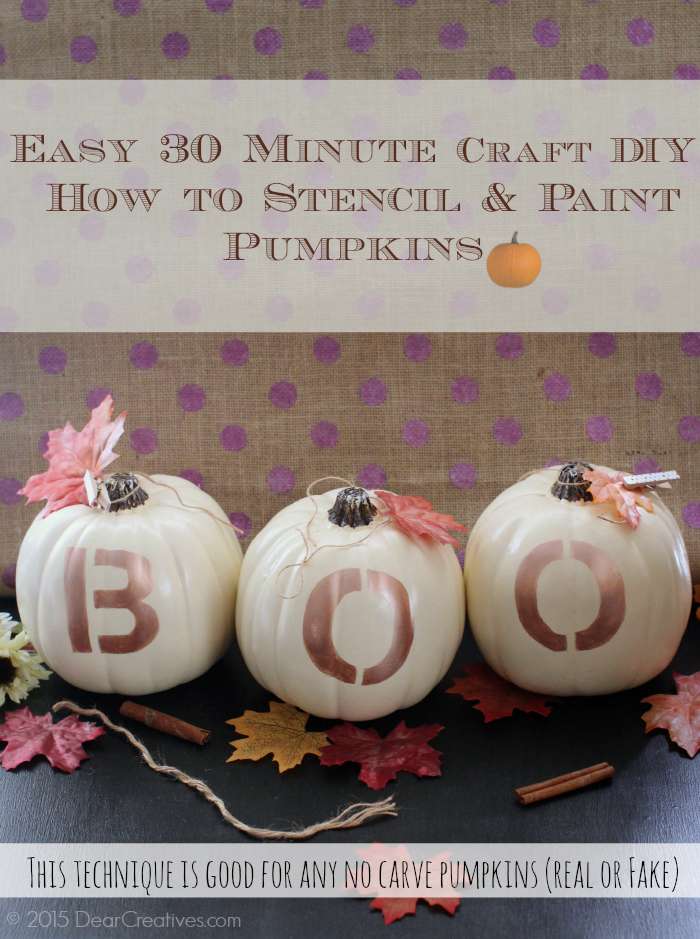
Boo Pumpkins
You can add these pumpkins to your mantel, porch, bookcase or home décor table-scape. This technique is good for any seasonal lettering.
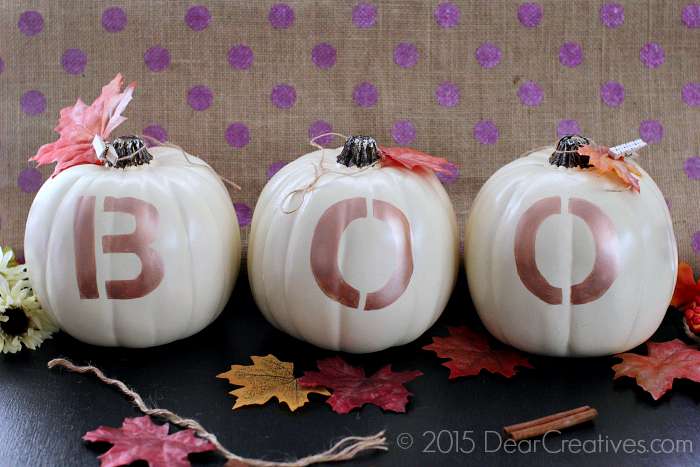
Honestly, this is a very easy project. The finished project will fit into any theme by changing the leaves and twine. You could even hot glue spiders or hang ghosts over where you set them. Now here's how to make them.
How to decorate pumpkins
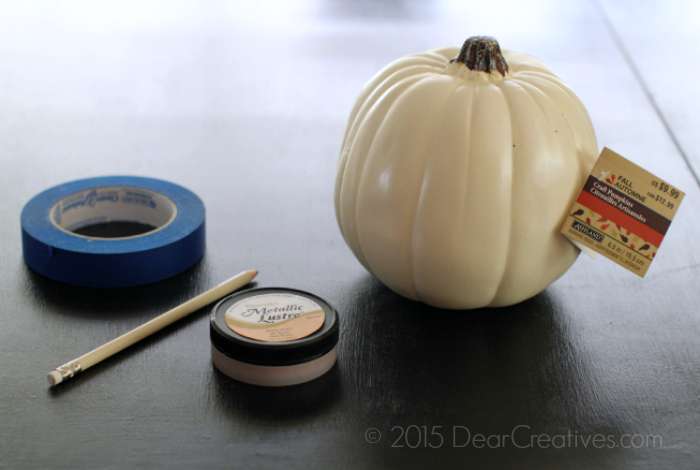
I used a lovely Metallic Lustre Rose Gold from DecoArt. The supplies you need are minimal The project quick and easy! I found my pumpkins at Michaels.
What you will need for stenciling pumpkins with paint
Supplies
How do you stencil on pumpkins?
How to stencil on pumpkins
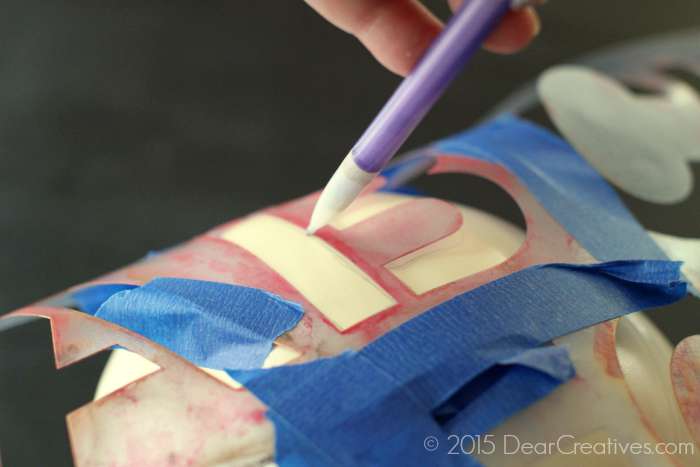
Follow these steps for stenciling a pumpkin
- Grab your pumpkin and center stencil 1 1/2″ from the bottom of the stem piece (at the top of the pumpkin). I was going to try to tape down stencil then paint with my stencil paintbrush.
- I quickly saw that it would be better to trace the stencil with a pencil then paint with an angle brush. My pumpkins were pretty round.
- When stenciling with a stencil tape the stencil onto the pumpkin.
- The stencil needs to be flush to your surface and completely taped down for it to come out properly.
- Do whichever works best depending on the surface and shape of your pumpkin.
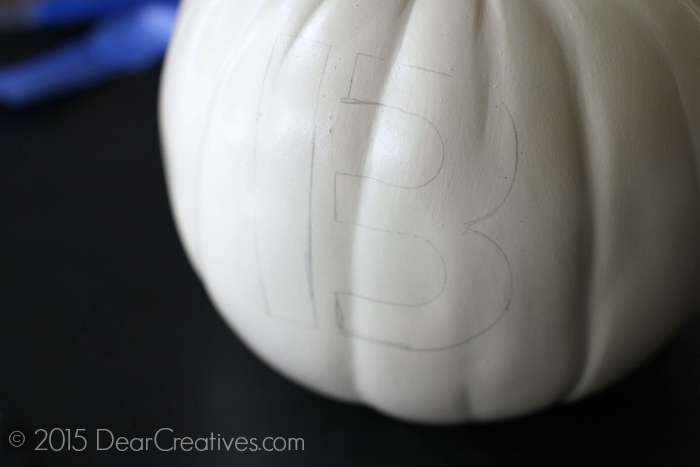
Stencil the letters one by one on the pumpkins until you have the word BOO. Or another word like Eek!
- Or any letters to the words you want to write.
- Do not press too hard just enough to see it on your pumpkins.
- For real pumpkins, you can always use a white pencil to see it better.
How To Stencil Words on a Pumpkin
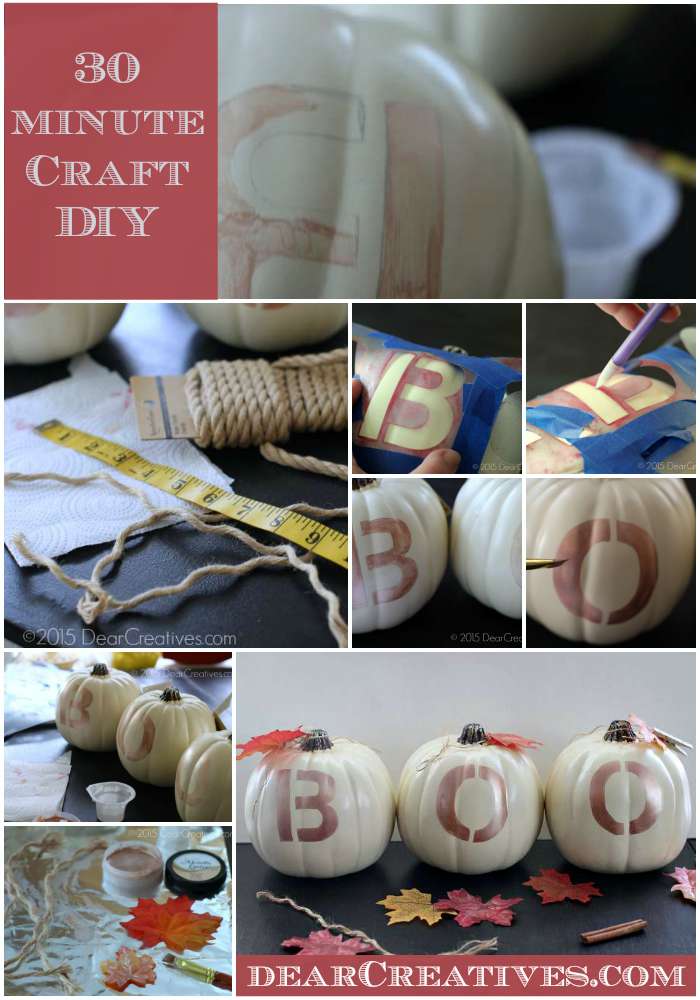
Pro Tips for Painting Pumpkins
- Make sure to work in a warm, dry environment. Inside a kitchen, craft room or garage is fine. (My house was warm and fan going when I was painting. By the time I covered the other two and went back to the first one it was dry.) If it is cool where you are working you can use a heat gun
to dry your project if you are in a hurry. But, do NOT overheat the surface.
- Paint with your angle brush until the letters are fully covered, drying in between for each one.
- The pumpkins are slick so it's easy to wipe off mistakes if you need, use a Q-tip or edge of a damp paper towel.
-
Tips: You need to let the coats dry fully in between coats or it can smear the paint off.
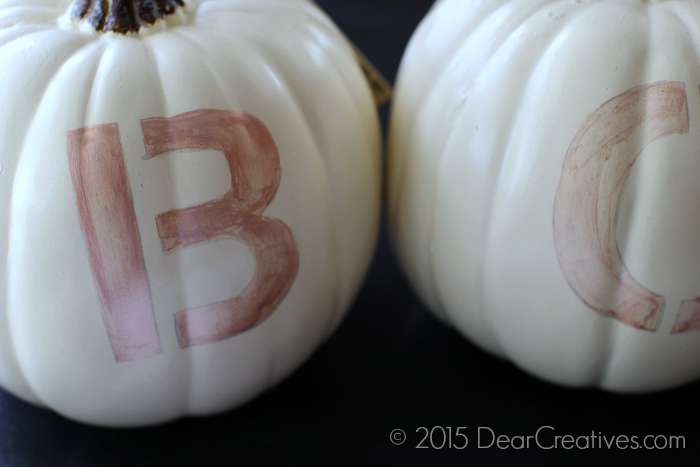
Go close to edges and pull paintbrush loaded with paint slowly. Do not over-ly wet paint and do not over-ly load the brush. I like to load my brush and run half on the edge of paint container getting off excess. Only wet paint is enough to mix and load. Fill in any light spots after the pumpkin layers have completely dried.
- It takes about three layers of paint to make the lettering filled in. Different paints will vary how many coats of paint are needed.
- The photos don't do the colors justice as it's so shiny any sunshine gives it a glare, it's absolutely beautiful.
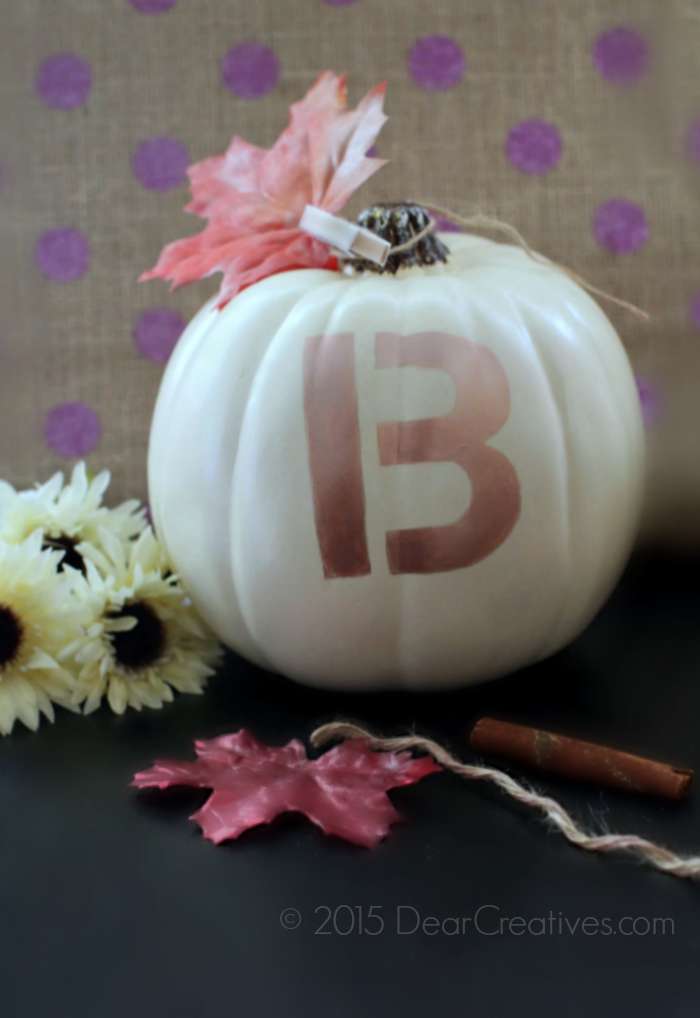
I started to play around with faux leaves and painted the lovely rose gold onto them then I also painted twine and ties them to the top attaching leaves with pretty fall clothes pins. Decorate them any way you like to display them.
Make a Boo Pumpkin Craft in 30 Minutes! It's so easy!
- New here? Be sure to Subscribe
- See all our Halloween Ideas
- I love this paint so much I have done three other projects to share with you!
- Today's post was brought to you by DecoArt I am part of their core blogger program. Be sure to give them a visit to check out all their great products and projects they share. These are my 100 % honest opinions of the metallic paint that I tried.
What DIY craft projects have you been working on?
Source: https://www.dearcreatives.com/diy-craft-projects-easy-halloween-boo-pumpkin-30-minute-diy/
0 Response to "Easy Ways to Make Stencils for Pumpkin Painting"
Post a Comment